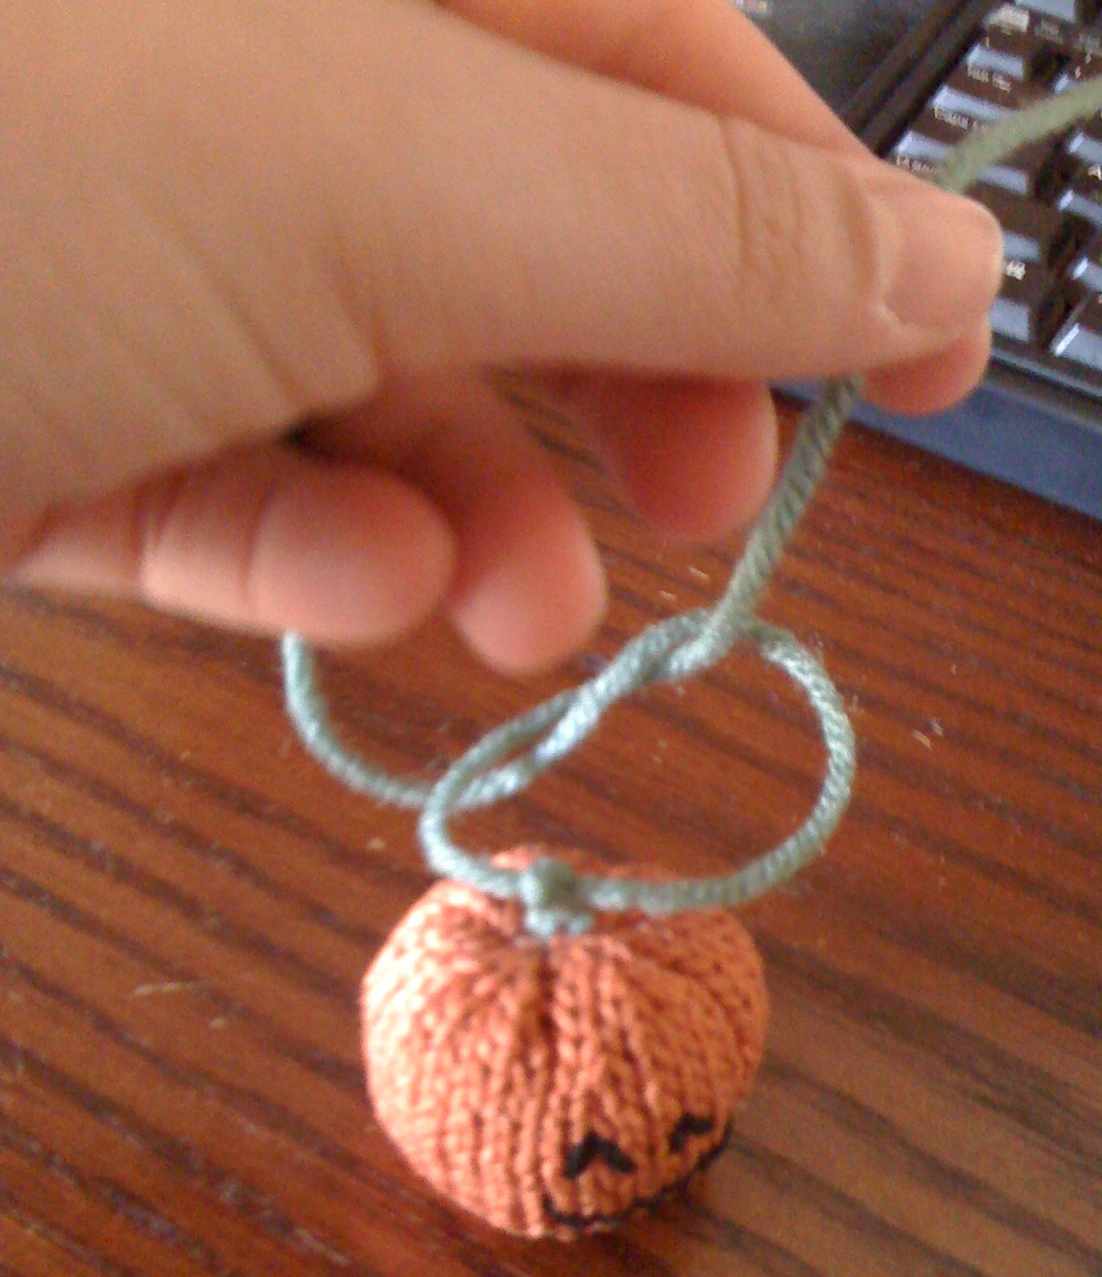
Pick-pocketed Pumpkin Pattern

This little Jack-o’-Lantern will knit up quickly. And, this pattern is flexible enough to knit with any yarn and needles, so, a larger pumpkin could be made from this, if desired. It’s also knit on straight needles – perfect for those leery of knitting with small, fiddly double pointed needles!
How to Make this Pumpkin
Materials
|
Abbreviation List
|
Let’s Knit!
This pattern works the base in first, and then moves up along the sides.
CO 6 sts
~Base~
Row 1: K across
Row 2: K across
Row 3: KFB into each st. (12 sts)
Row 4: K across
Row 5: KFB into each st. (24 sts)
Row 6: K across
Row 7: (KFB, K1) repeat across. (36 sts)
~Side and Top~
Row 8: K6, P1, K8, P1, K6, P1, K8, P1, K3, P1
Row 9: K1, P3, K1, P8, K1, P6, K1, P8, K1, P6
Repeat Rows 8 and 9 four more times, then start the decreasing rows below –
Row 10: K4, K2tog, P1, K4, K2tog, K2, P1, K4, K2tog, P1, K4, K2tog, K2, P1, K1, K2tog, P1 (31 sts)
Row 11: K1, P2, K1, P7, K1, P5, K1, P7, K1, P5
Row 12: K2tog, K2tog, K1, P1, K2tog, K2tog, K2tog, K1, P1, K2tog, K2tog, K1, P1, K2tog, K2tog, K2tog, K1, P1, K2tog, P1 (20 sts)
Row 13: K1, P1, K1, P4, K1, P3, K1, P4, K1, P3
Row 14: K3tog, P1, K3tog, K1, P1, K3tog, P1, K3tog, K1 K3tog (10 sts)
|

|
~Finishing~
Cut the knitting yarn, leaving a long tail. Thread a tapestry needle onto the tail, and thread the yarn through the remaining stitches on the needle. Cinch the pumpkin closed.
I found it easier to stitch my pumpkin’s face at this point while it was not sewn up. You can choose to stitch a scary face, like the icon on the Jack-o’-Lantern item, a cute one, or even a silly face from the carved pumpkins found in-game during Hallow’s End. Or…just leave it a “fall time” pumpkin with no face…it’s really all up to you.
Once the face is, or is not stitched, finish the pumpkin by sewing the base and sides together. I left the yarn I cinched the top of the pumpkin alone, and used an additional piece of yarn to sew the sides together. Once those were sewn up, I stuffed the pumpkin with fiberfill. This made it easier to match up the base line, which I sewed up with the CO yarn tail.
With the yarn that was used to cinch the pumpkin closed, I made a few gathering stitches around the top, and then poked the yarn down into the pumpkin and out the base, pulling tightly as I tied off that yarn. This made a cute little dimple at the top of the pumpkin.

|
|
|

|
Copyright © 2010 Kirina
Please don’t steal someone else’s work! This pattern is intended for your personal use/enjoyment only. Any reproduction of this pattern, or the selling of this pattern and/or its final product, is strictly prohibited unless you have my permission first.