Knitted, Knitted Gloves

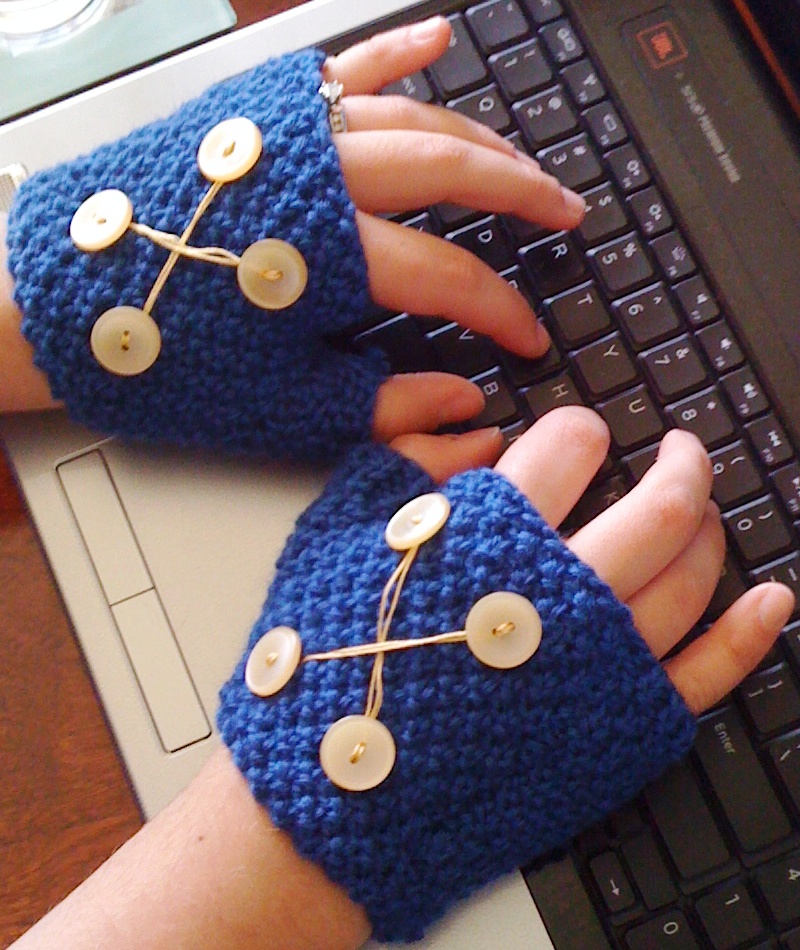
I knitted these using the simple Moss Stitch – making the gloves more textured than the Stockinette Stitch, but more elaborate than just a knitted ribbing.
Knitting a pair of these Knitted Gloves can be achieved through one of two ways: Easy, or Easier.
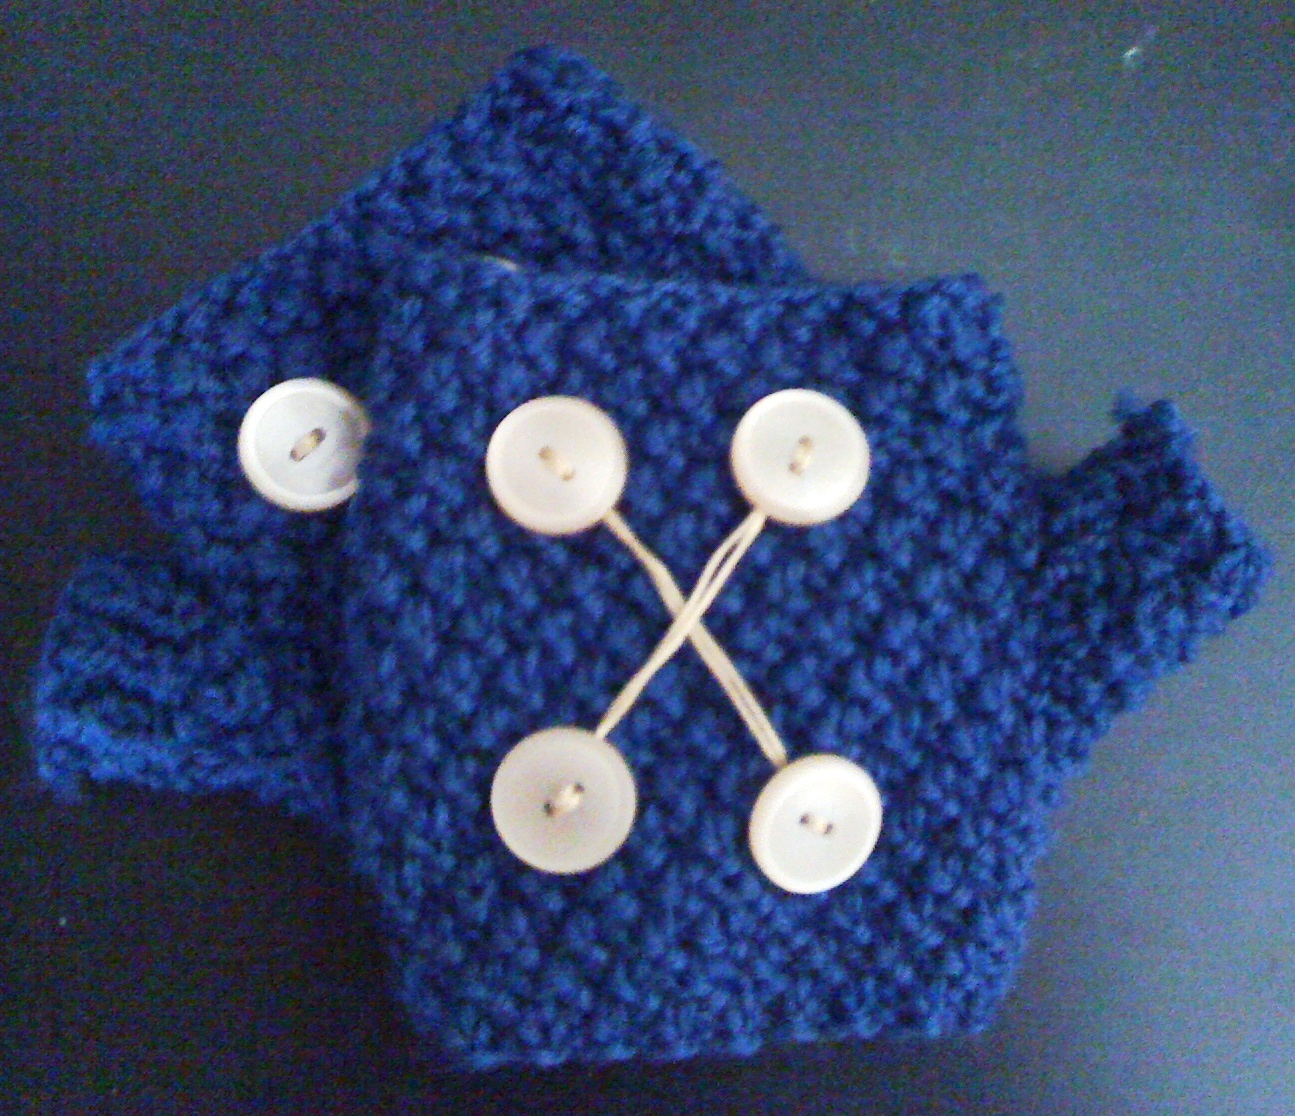
The pictured gloves were knitted by the “Easy” pattern. The “Easier” pattern can be seen toward the bottom of this page; however, there are no pictures to accompany it (there would not be much of a difference anyway).
You also do not have to knit with blue yarn, either. There are many different colors of the same style of this glove in-game, so, choose your favorite and go for it!
How to Make a Pair of Knitted Gloves
Materials
|
Abbreviation List
|
Let’s Knit!
**Side note ~ This glove pattern will make gloves that fit an average adult hand. However, I listed measurments in ( ) within the pattern for slightly smaller gloves, if desired.**
~Easy Pattern~ Knit 2 gloves.
|

|
~ Work in Moss Stitch ~
Row 1: (K1, P1) repeat across
Row 2: (K1, P1) repeat across
Row 3: (P1, K1) repeat across
Row 4: (P1, K1) repeat across
Row 5: (K1, P1) repeat across
Row 6: (K1, P1) repeat across
~Increase Rows~
Row 7: (P1, K1) into same st, (K1, P1) repeat until last st, (K1, P1) into last st (42 sts (38 sts) total)
Row 8: (K1, P1) into same st, (P1, K1) repeat until last st, (P1, K1) into last st (44 sts (40 sts) total)
Row 9: (K1, P1) repeat across
Row 10: (K1, P1) repeat across
~Start Thumb Shaping~
{Bracketed} instructions are the thumb shaping.
Row 11: (P1, K1) for 19 sts (17 sts), {M1L, K1, M1L}, (P1, K1) repeat to end. {3 sts}
Row 12: (P1, K1) repeat across
Row 13: (K1, P1) for 19 sts (17 sts), {(K1, P1) into same st., K1, (K1, P1) into same st.}, (K1, P1) repeat to end. {5 sts}
Row 14: (K1, P1) repeat across
Row 15: (P1, K1) for 19 sts (17 sts), {(K1, P1) into same t st., K1, P1, K1, (K1, P1) into same st.}, (P1, K1) repeat to end. {7 sts}
Row 16: (P1, K1) repeat across
Row 17: (K1, P1) for 19 sts (17 sts), {(K1, P1) into same st., (K1, P1) for 5 sts, (K1, P1) into same st.}, (K1, P1) repeat to end. {9 sts}
Row 18: (K1, P1) repeat across
Row 19: (P1, K1) for 19 sts (17 sts), {(K1, P1) into same st., (P1, K1) for 7 sts, (K1, P1) into same st.}, (P1, K1) repeat to end. {11 sts}
Row 20: (P1, K1) repeat across
Row 21: (K1, P1) for 19 sts (17 sts), {(K1, P1) into same st., (K1, P1) for 9 sts, (K1, P1) into same st.}, (K1, P1) repeat to end. {13 sts}
~~For small glove size, follow the Row 22 (small). For larger gloves, continue the pattern with Row 22~~
Row 22: (K1, P1) repeat across
**Row 22 (small): (K1, P1) for 22 sts, {place the 13 sts made on a yarn holder or spare DPN}, (K1, P1) the remaining 17 sts. Go to Row 27 at this time.
Row 23: (P1, K1) for 19 sts, {(K1, P1) into same st., (K1, P1) for 11 sts, (K1, P1) into same st.}, (P1, K1) repeat to end. {15 sts}
Row 24: (P1, K1) for 24 sts, {place the 15 sts made on a yarn holder or spare DPN}, (P1, K1) the remaining 19 sts.
**Side note: The rest of the sts are worked in the moss stitch. It is important to keep track of what stitches you are making, which is why the pattern is written the way it is. Otherwise, doing the same pattern across will result in one side of the glove being a K1, P1 ribbing, and not the decorative st.**
Row 25: (K1, P1) for 24 sts, (K1, P1) for remaining 19 sts.
Row 26: (K1, P1) for 19 sts, (K1, P1) for remaining 24 sts.
Row 27: (P1, K1) for 24 (22) sts, (P1, K1) for remaining 19 (17) sts.
Row 28: (P1, K1) for for 19 (17) sts, (P1, K1) for remaining 24 (22) sts.
Row 29: (K1, P1) for 24 (22) sts, (K1, P1) for remaining 19 (17) sts.
Row 30: (K1, P1) for 19 (17) sts, (K1, P1) for remaining 24 (22) sts.
Repeat Rows 27 – 30 until the piece is 5 inch (4.5 inch) from the CO sts. BO in pattern, leaving a long tail.
~Finishing the Thumb and Glove~
Weave the long BO tail across the top of the glove and back down to the thumb sts on the holder. Place the thumb stitches back on a knitting needle and work (K1, P1) for 2 rows. BO thumb stitches in pattern. Fold the thumb sts together, and sew up, gathering up any gaps around the thumb in the process.
Match the sides of the glove together and sew up. Embellish with buttons, and enjoy!

~Easier Pattern~ Knit 2 gloves.
The only difference between this pattern and the first one is that this glove does not have the distinct thumb division. This pattern is perfect for very beginner knitters.
CO 40 (36) sts
~ Work in Moss Stitch ~
Row 1: (K1, P1) repeat across
Row 2: (K1, P1) repeat across
Row 3: (P1, K1) repeat across
Row 4: (P1, K1) repeat across
Row 5: (K1, P1) repeat across
Row 6: (K1, P1) repeat across
~Increase Rows~
Row 7: (P1, K1) into same st, (K1, P1) repeat until last st, (K1, P1) into last st (42 sts (38 sts) total)
Row 8: (K1, P1) into same st, (P1, K1) repeat until last st, (P1, K1) into last st (44 sts (40 sts) total)
Row 9: (K1, P1) repeat across
Row 10: (K1, P1) repeat across
Row 11: (P1, K1) repeat across
Row 12: (P1, K1) repeat across
Repeat Rows 9 – 12 until the piece is 5 inches (4.5 inches) from the CO sts. BO in pattern, leaving a long tail. Match, and with the BO tail, sew the sides of the glove together – leaving an approximate 1 inch gap in the middle (or at 2.5 inches from CO sts) for the thumb to slide through. Embellish with buttons, and enjoy!
Copyright © 2010 Kirina
Please don’t steal someone else’s work! This pattern is intended for your personal use/enjoyment only. Any reproduction of this pattern, or the selling of this pattern and/or its final product, is strictly prohibited unless you have my permission first.